I decided that the perfect addition to my modern bakery would be a beautiful mini neon sign. Mini neon lights were impossible to find so I decided to 3D print and design my own!
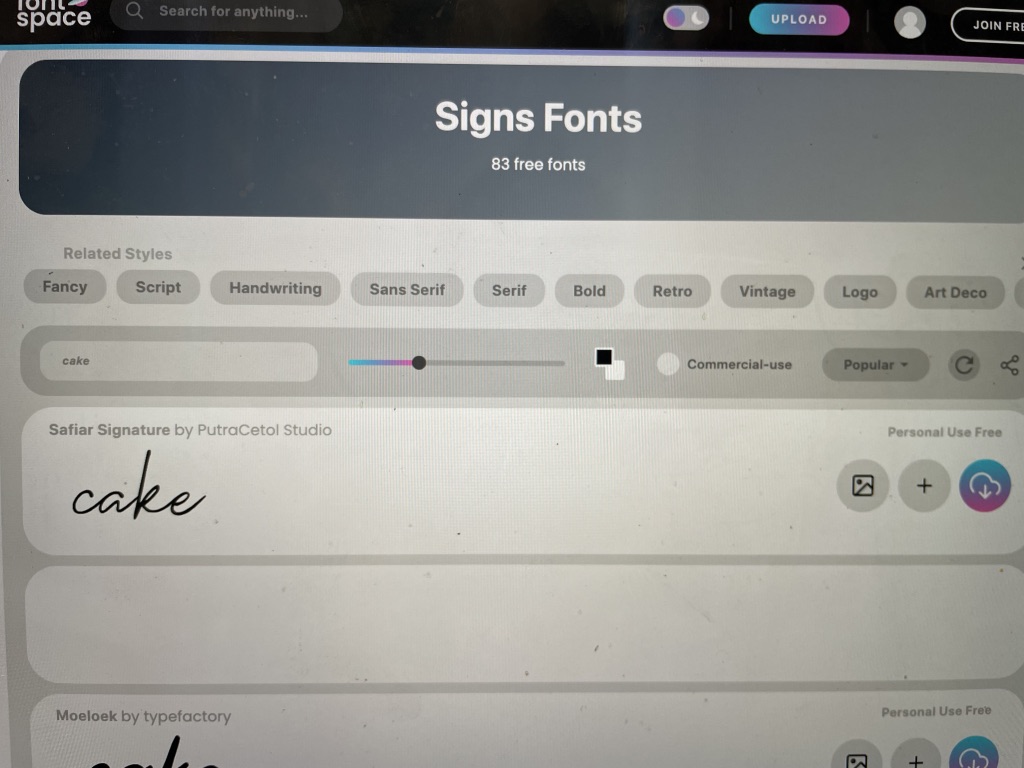
I started by picking a font for the sign. I knew I wanted cursive so the letters would all be connected. I went to FontSpace to find the perfect font.
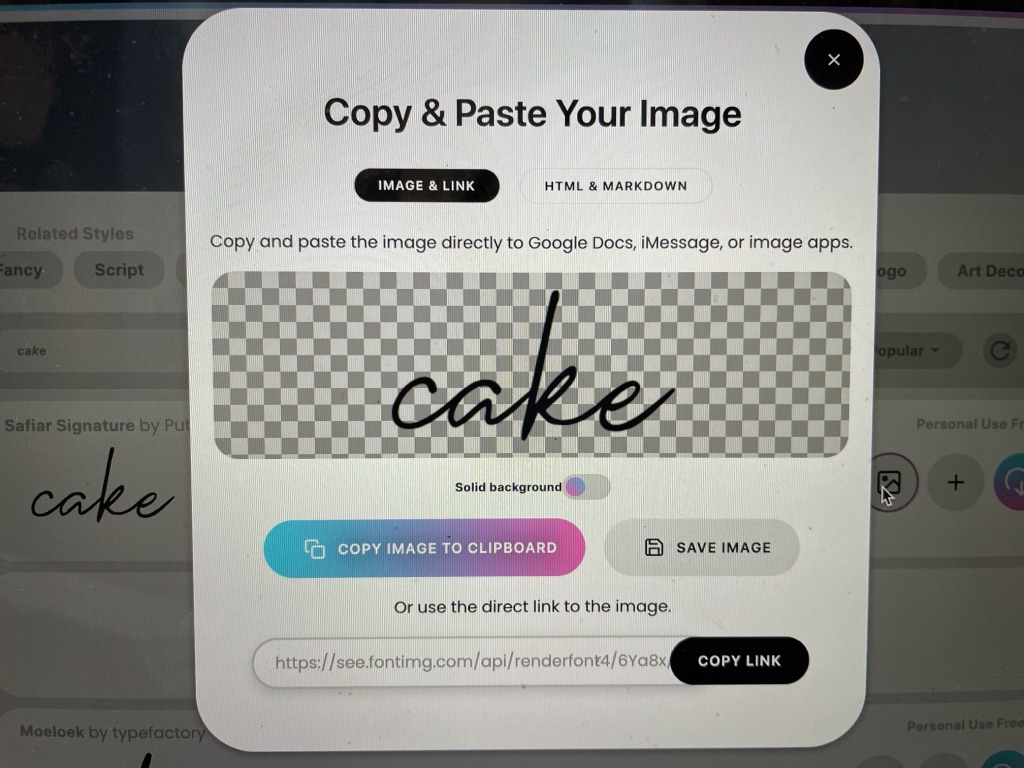
I then saved the font as a .png file by hitting “save image”.
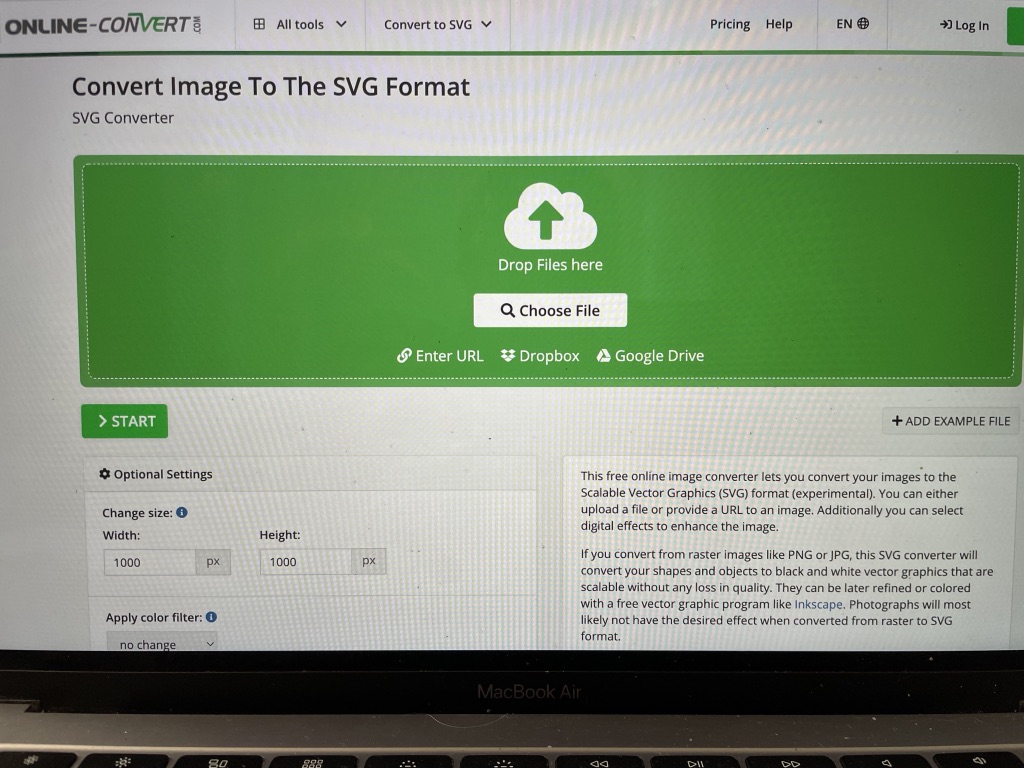
I had to convert the .png file into a .svg file in order for tinkercad to be able to correctly read the file. I adjusted the size to 1000px by 1000px so it would fit into the tinkercad space. (https://image.online-convert.com/convert-to-svg)
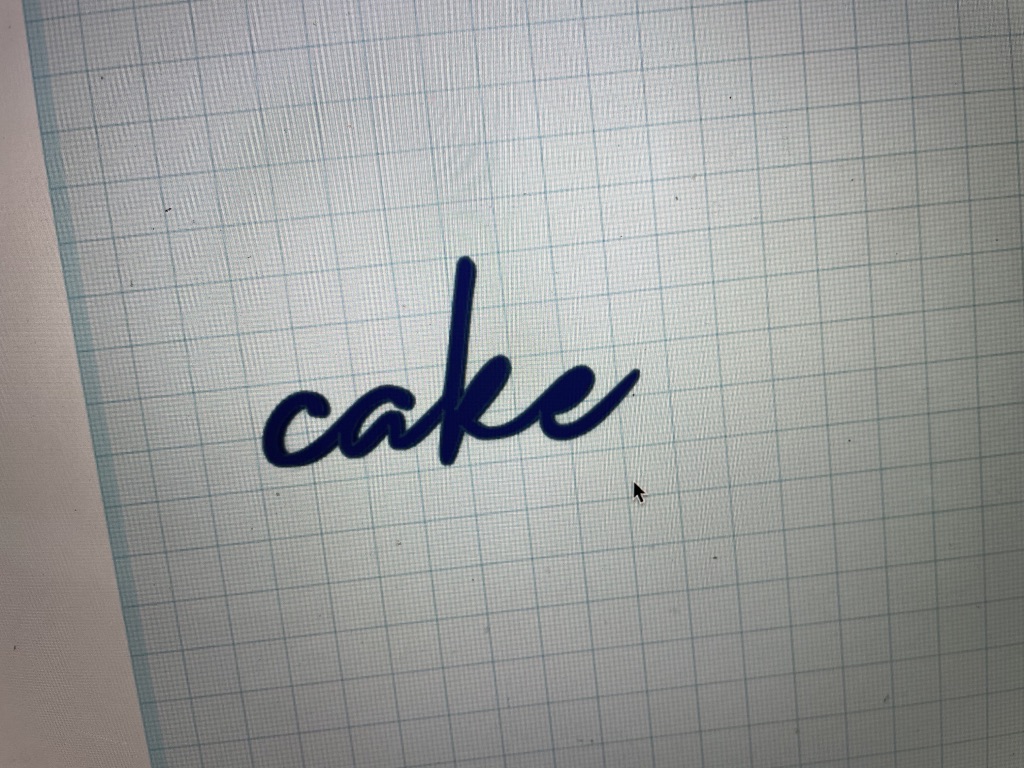
Once converted I uploaded the file to tinkercad and sized it small enough to work with.
The name of my bakery is ‘cake cake cake’ (after the Rihanna song obv) so I duplicated the word twice and connected the words.
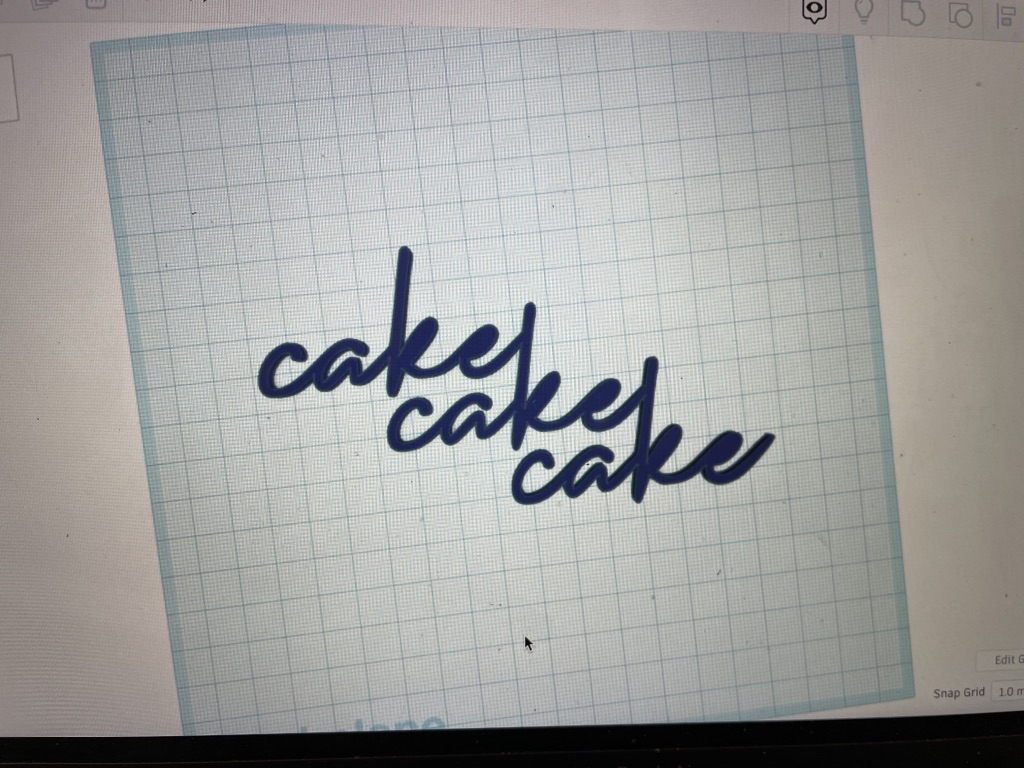
Exported this as an .stl file to then upload to chitubox so I could covert it for my 3D printer to read. Sized it to the size I want it to be printed while in chitubox.

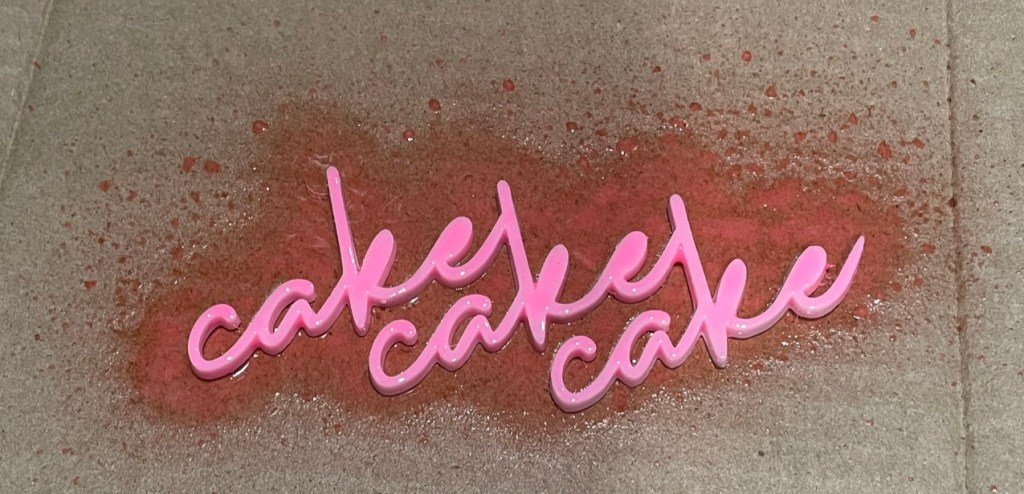
It took 20 minutes to print on my resin printer.

I decided that I wanted this sign to be neon pink. I used my airbrush to paint it the bright color I wanted. Neon spray paint could also be used.
When it dried I created a succulent picture frame and super glued the sign to the front of it! (a video of this part can be found on my instagram: miniaturemoments_ )
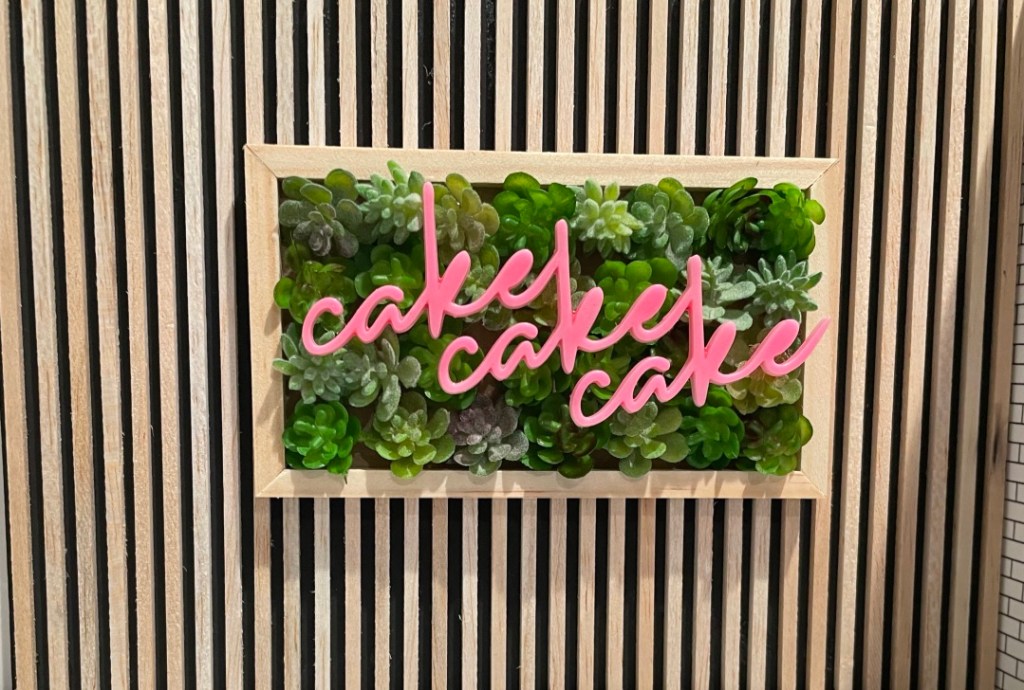

I love it, so pretty!
LikeLiked by 1 person
wow!! 80DIY 1:24 Adirondack Chair
LikeLike