I think that flooring has to be my favorite part of dollhouse building. It is so intricate and fun to do!
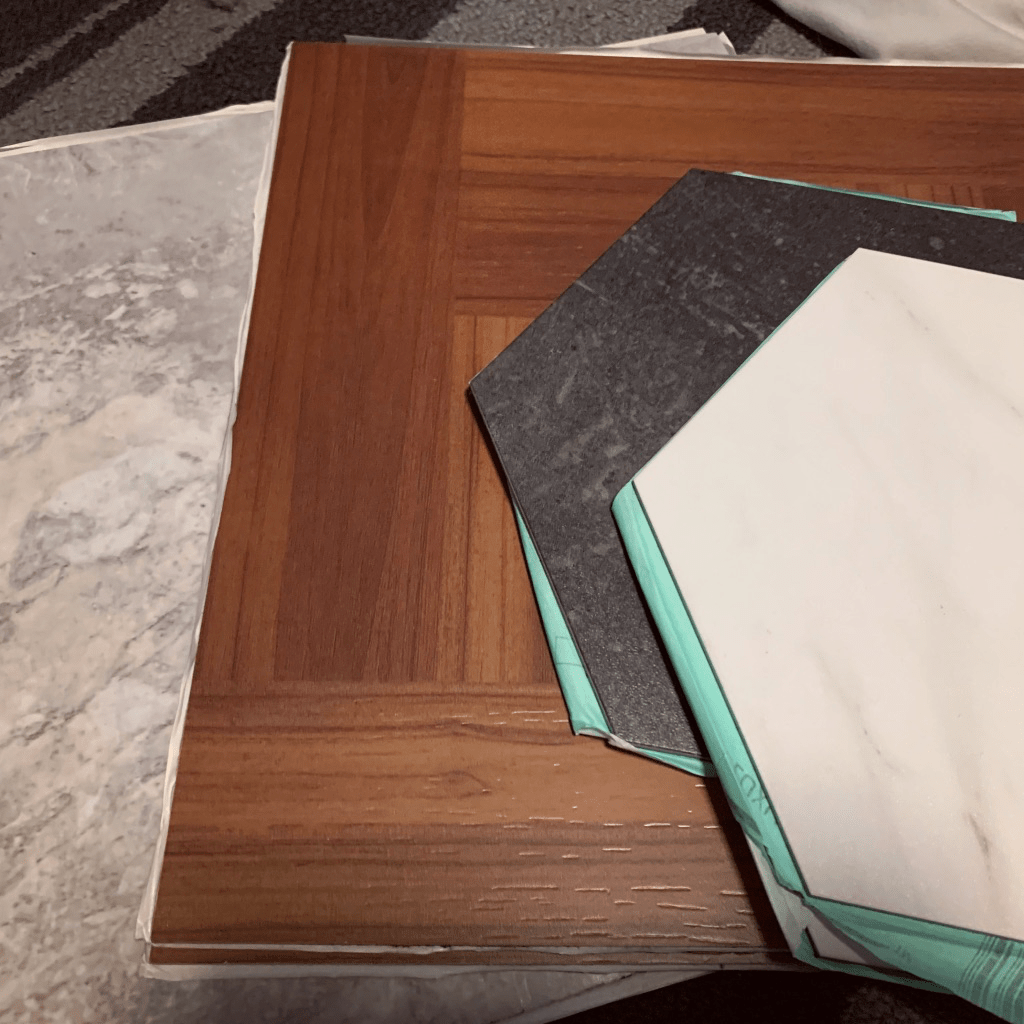
This flooring project meant another trip to Lowes! I got one tile at Lowes for between 60 cents and $1.50 each. The black and white tiles will be for the kitchen, the wooden tile for the living room and bedroom, and the stone looking tile will be for the bathroom. When I say “tile” I really mean “Vinyl Flooring”. Each tile has a sticky back (when you peal off the paper) which makes it SOO easy to place into the dollhouse once they are cut into their correct sizes.
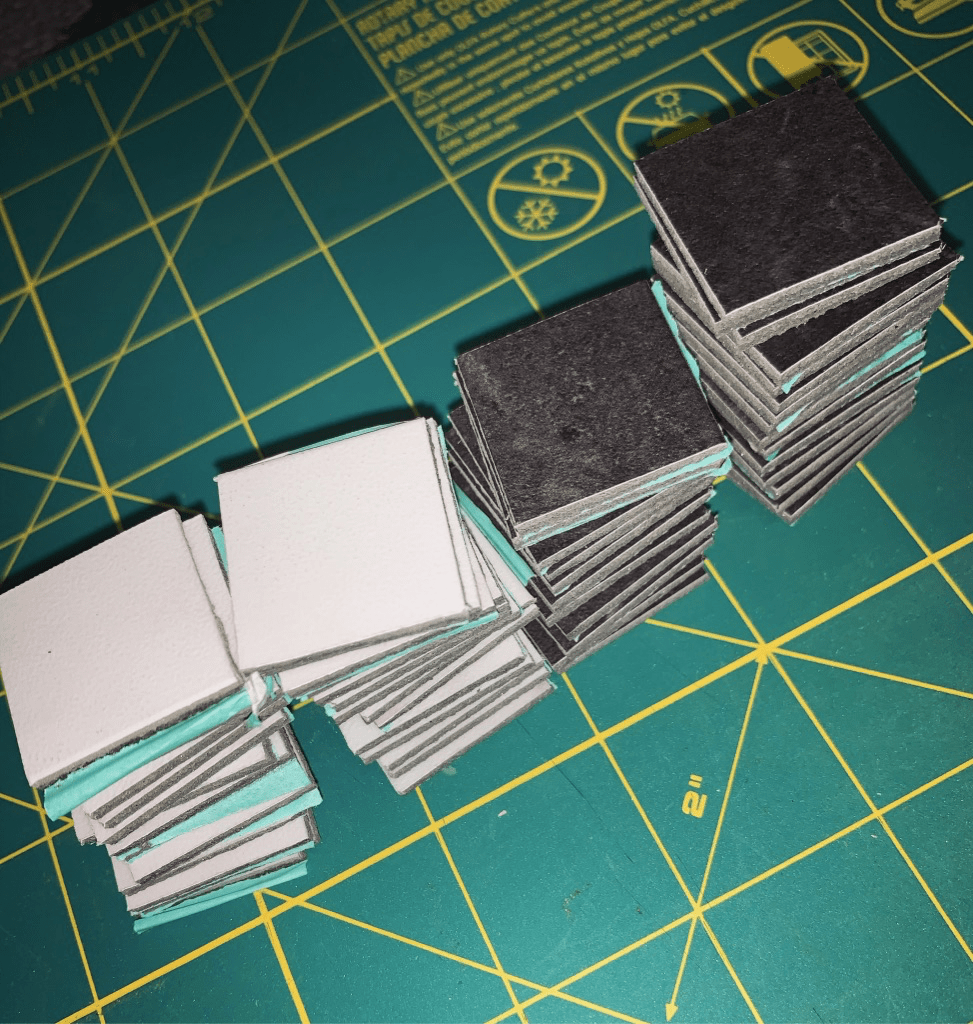
The black and white tiles became these 1″ x 1″ mini tiles. They are very easy to cut with a metal ruler and a box cutter. Sometimes the adhesive would make the edge sticky and difficult to cut. This is why I prefer a box cutter – with box cutters there are already spare blades built onto the blade. You just push the blade up and remove the top blade. Then voila – a new blade!
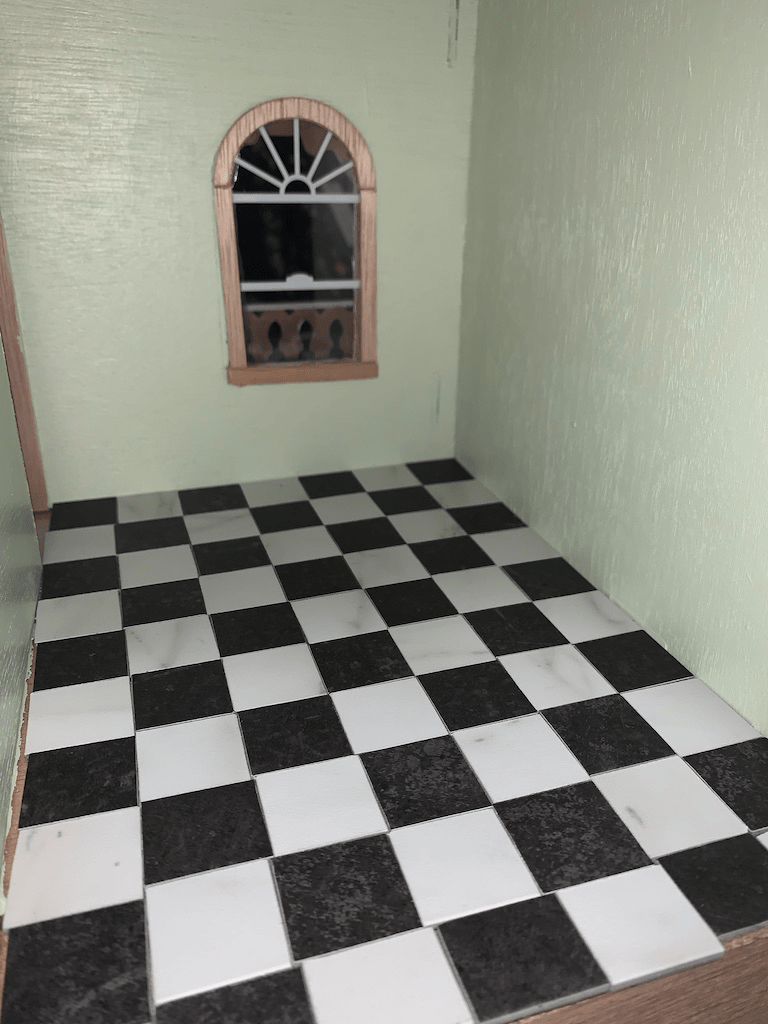
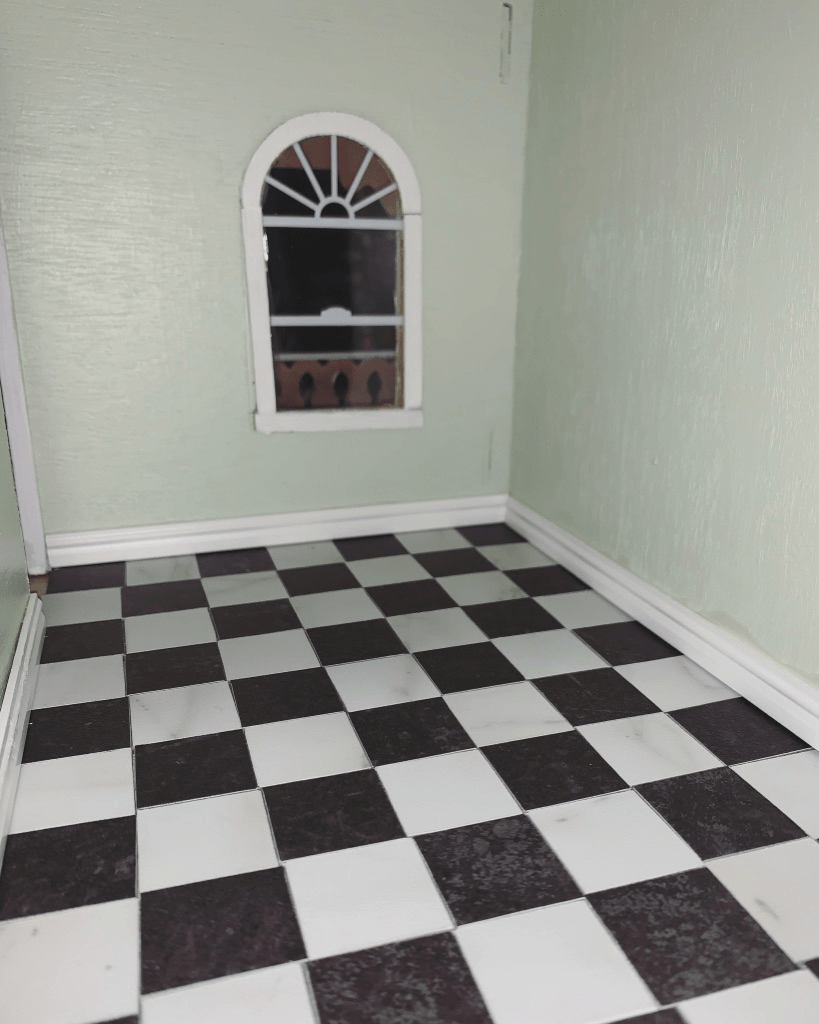
And heres the final look for the Kitchen! Without (left) and with the white window and white baseboard (below).
I LOVE this kitchen flooring.
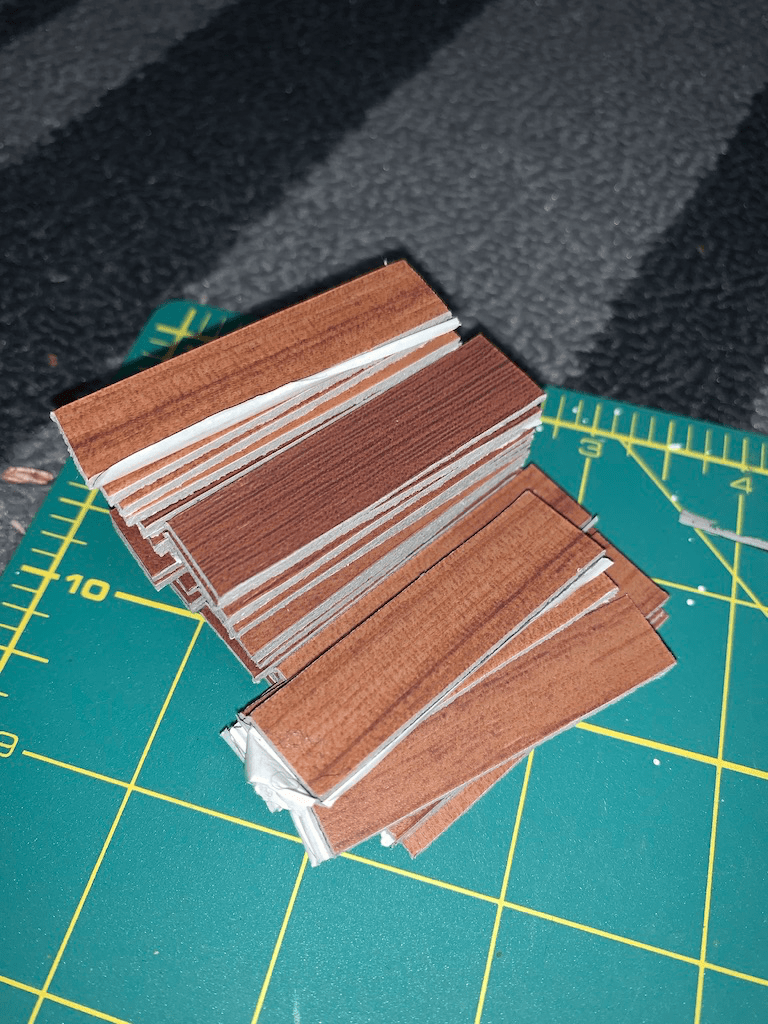
These wood tiles are for both the bedroom and the living room. The ones featured are cut 1/2″ x 2″. These will be for the bedroom. The living room ones will be cut 1/2″ x 3″.
This is just a small portion, there are obviously lots more. I bought two “regular” sized tiles so I would have enough material for two rooms in the dollhouse.
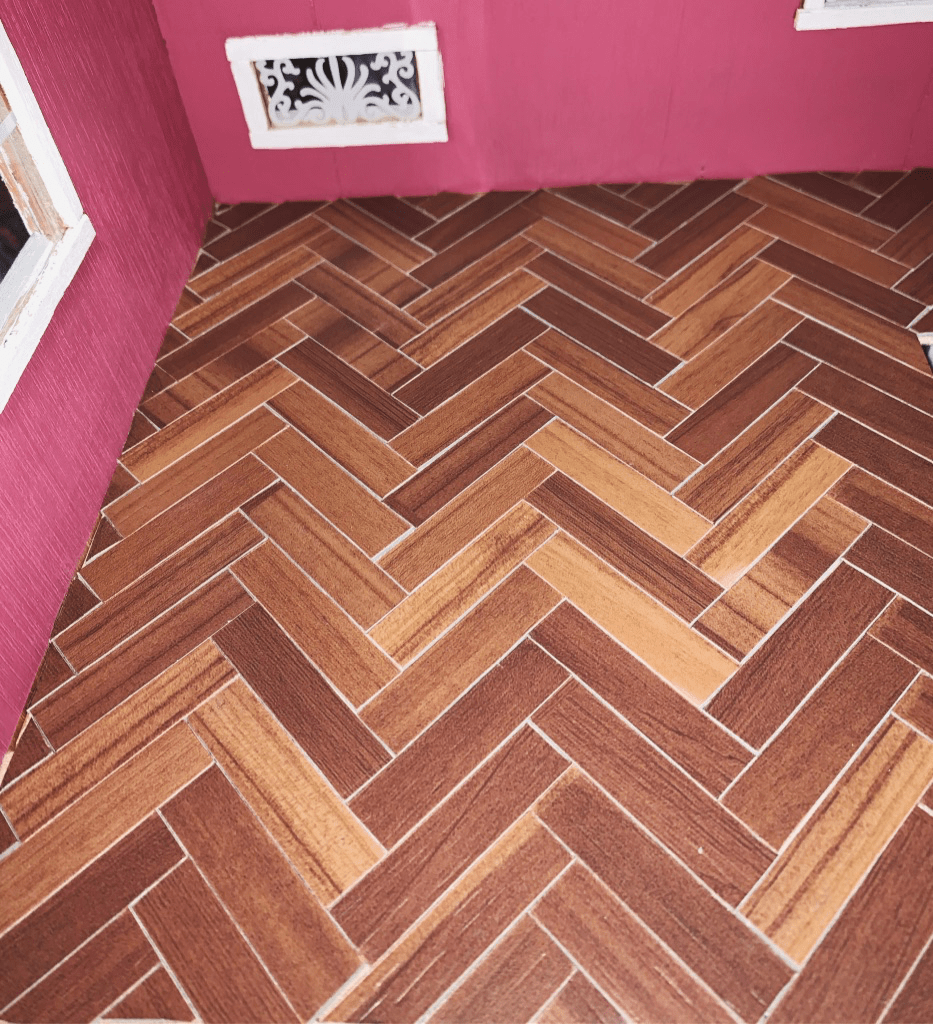
I decided to try something new and be adventurous for the bedroom. I tried a herringbone pattern!
I laid the pattern out before committing to it. Laying the pattern really helped everything fit.
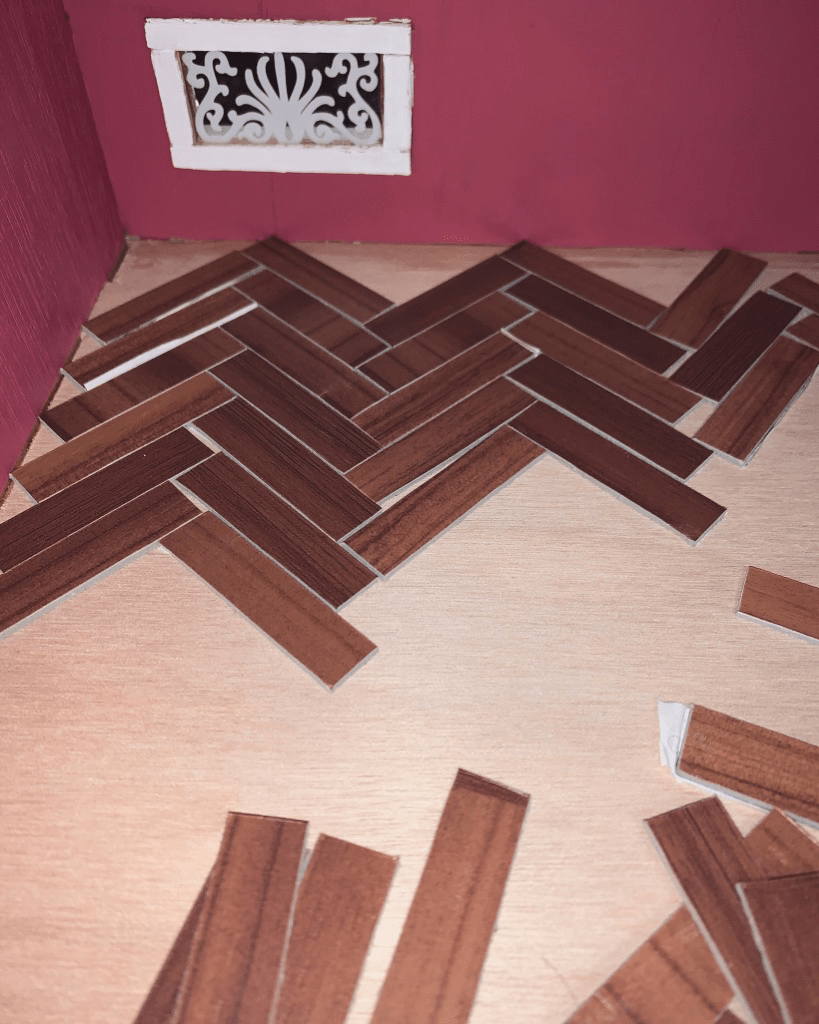
I stuck down the bigger pieces first before going back and cutting down tiles to fit the small spaces. I tried to pick different colors and shades as I laid the pieces so that it would have a more interesting look to it. This took a good WHILE to complete. Definitely worth it tho!
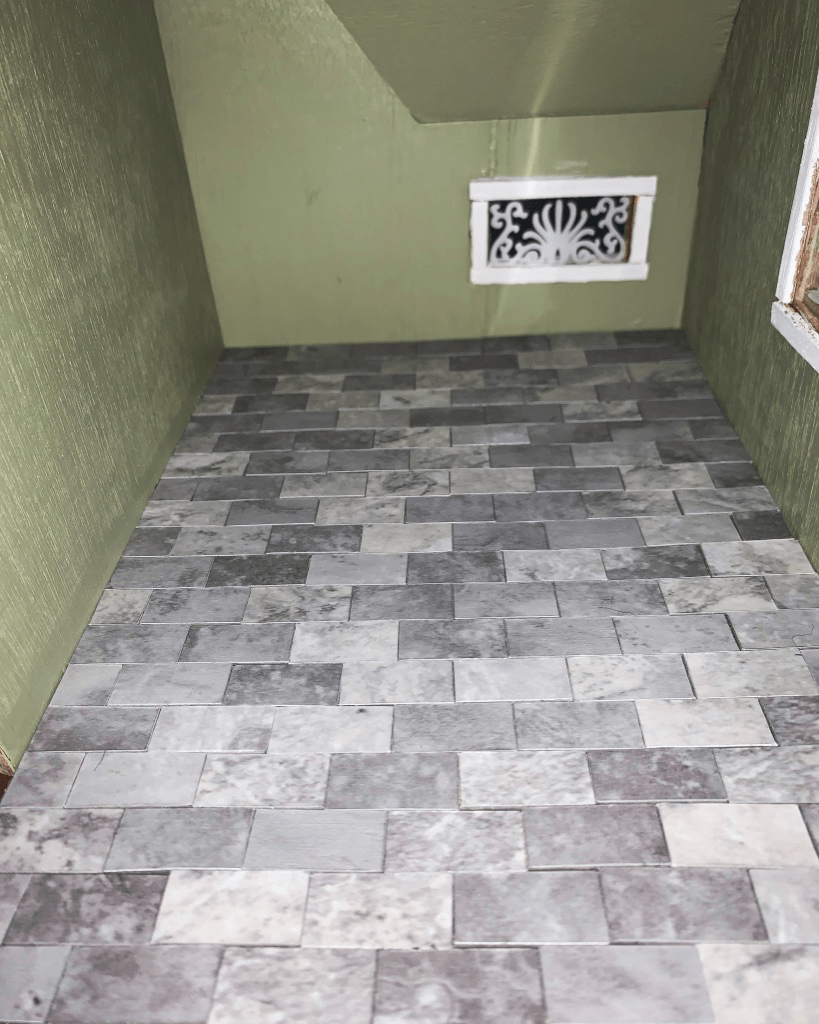
The bathroom tiles were cut to be 1/2″ x 1″
Because the tiles ended up being so small it was a task to cut the lines straight. They have a very “stone” look to them, which is what I was going for. I think the grey looks amazing against the olive colored walls.
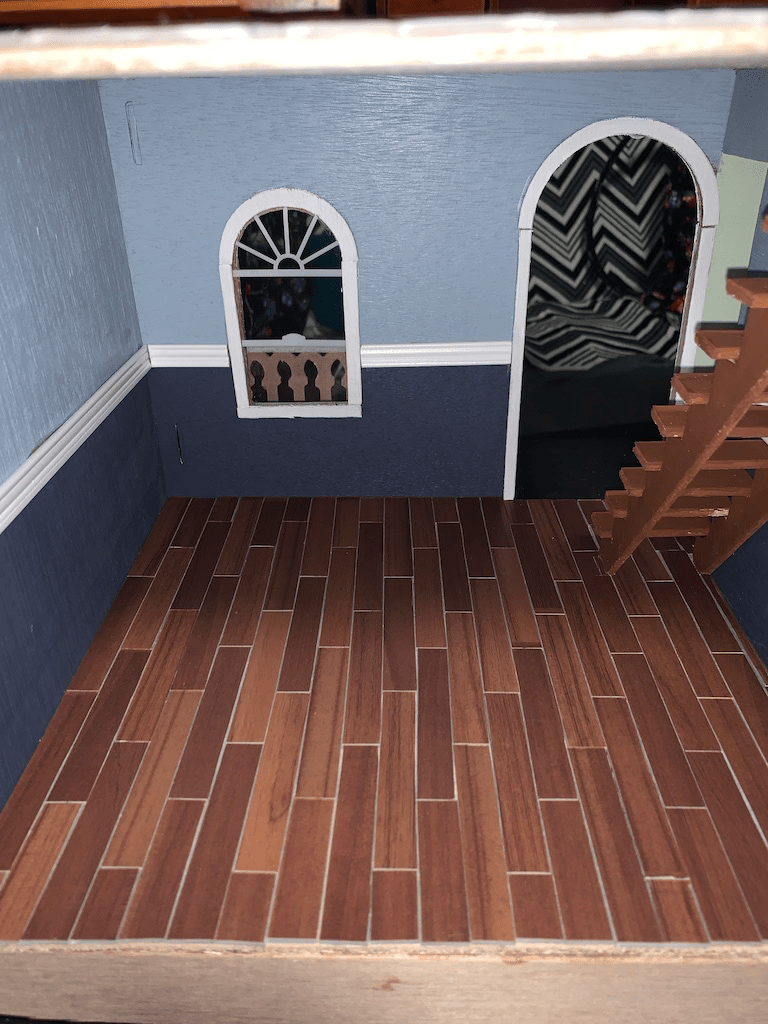
The living room I used the same wood looking vinyl tile as I used in the bedroom. I however decided to cut the planks longer. These are 1/2″ x 3″ (the bedroom was 1/2″x2″ which was easier for the herringbone design).
You’ll notice that I also added white trim between the two blue paint colors.
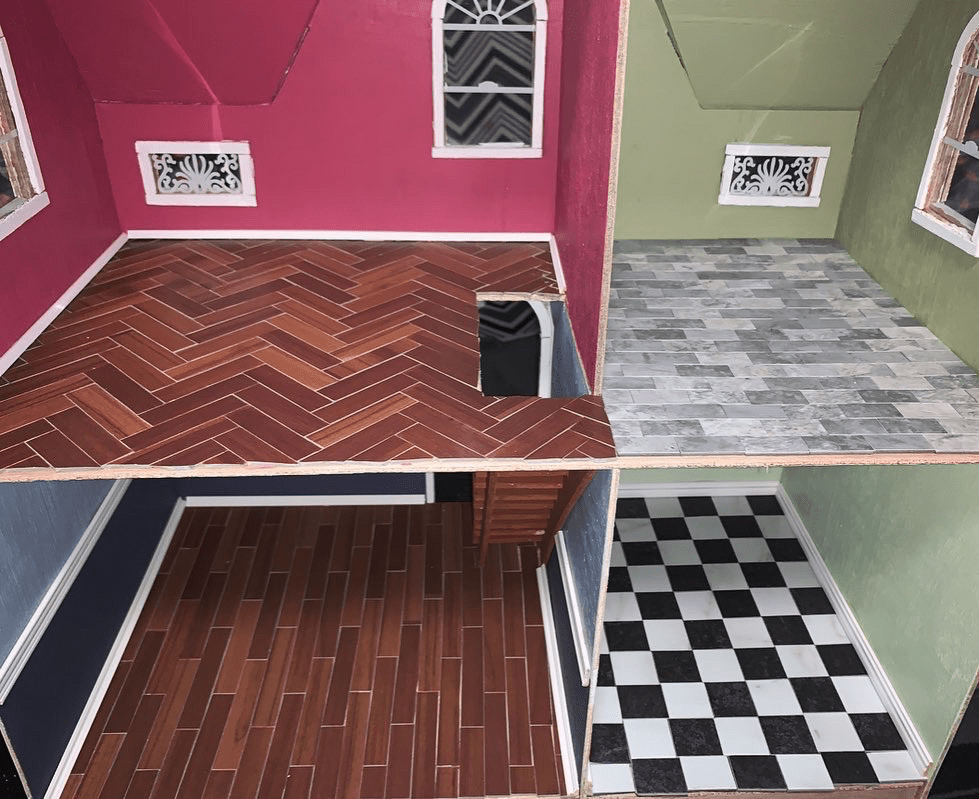
FINISHED FLOORS!
(with baseboards)

These floors look amazing!!! I hadn’t thought of cutting up a piece of vinyl tile into smaller pieces. Thanks for the great idea! I am currently building steps which has proven to be a long process for me. I am enjoying your blog!
LikeLiked by 1 person
I’m glad you enjoyed reading about the vinyl tile idea! Steps can definitely be a long process, hope it goes well! Thanks for reading 🙂
LikeLiked by 1 person