DIY 1:24 Adirondack Chair

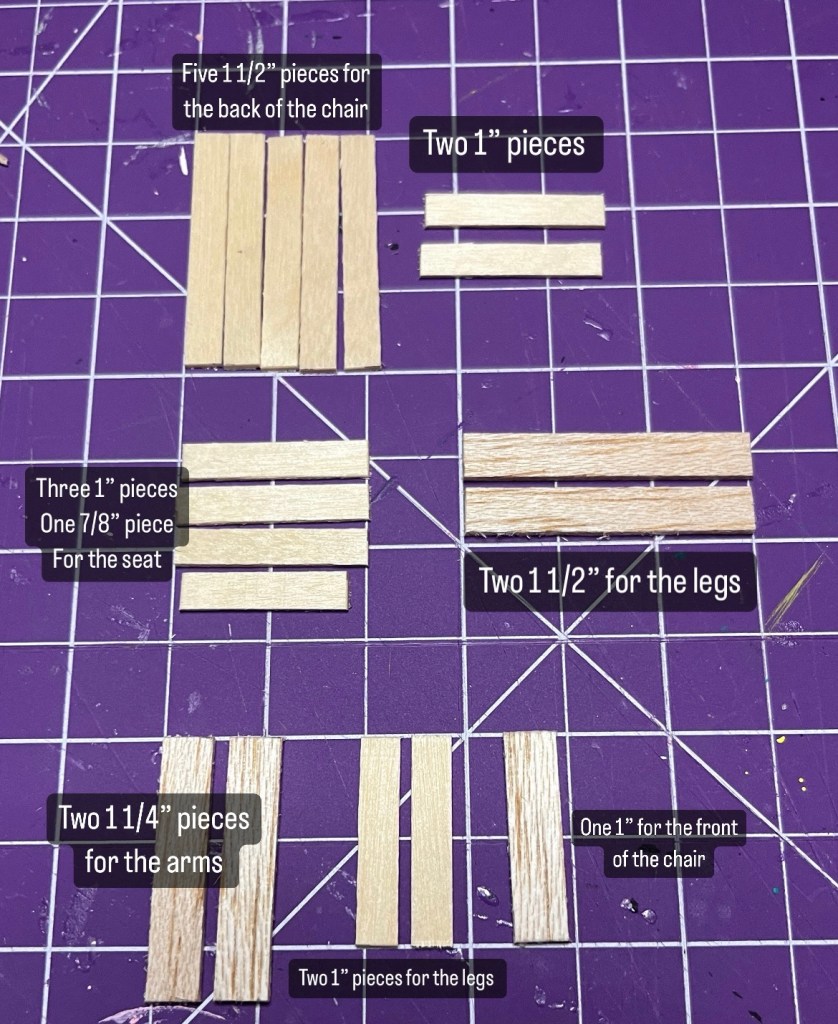
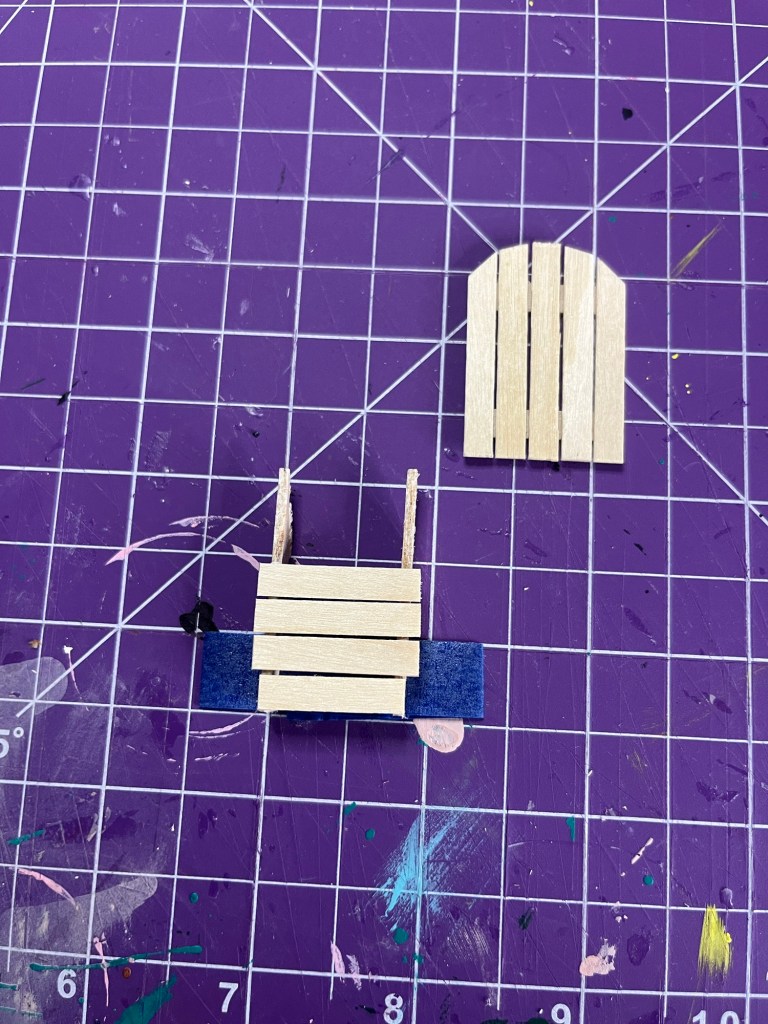
To make this chair I used coffee stir sticks, 1/4” wooden dowel and glue. I used a mitre cutter to cut each piece of wood as well as all of the angles. Picture below shows the lengths for each piece of wood to complete the project.

Starting with the back of the chair cut the angles needed for the back
These are the angles I used for the back. I put some painters tape on my cutting mat to keep the wood straight. The back needs to be 1 inch in width.
Glue the two 1 inch cut coffee stirrers to the back of the chair to hold the cuts together, one right under the 45 cancel and the other about 1/4 inch up from the bottom. Set aside and let dry
Get the wood that will be used for the legs and the chair seat
Mark the 1/4” dowel at the 1/2 inch mark.
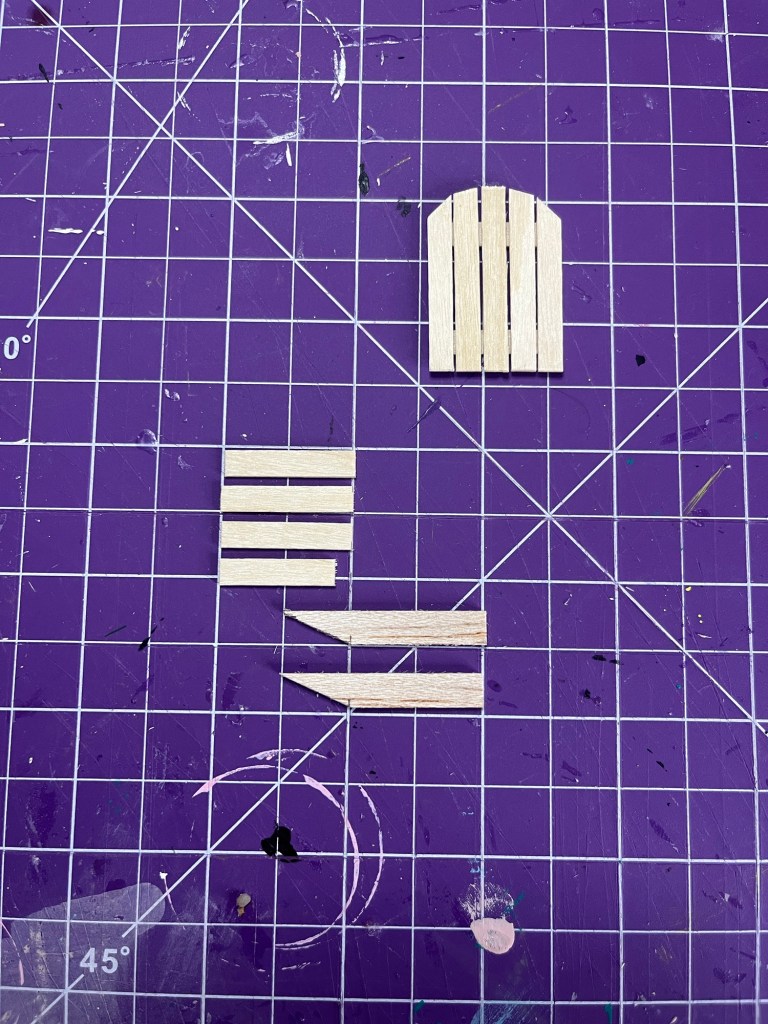
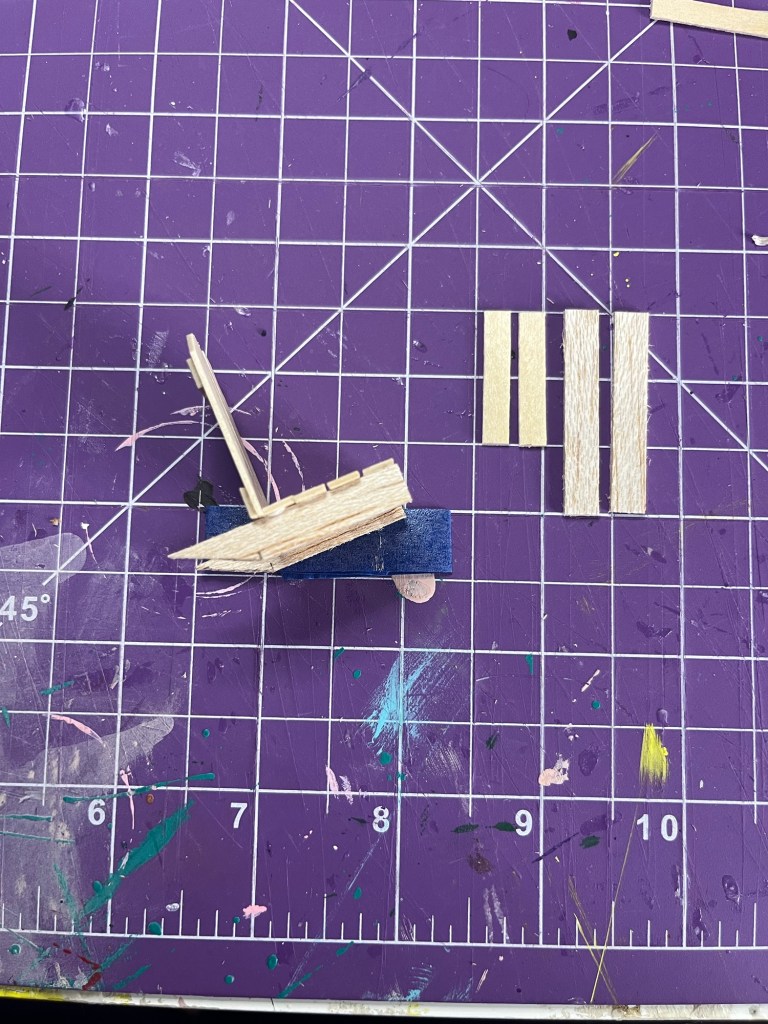
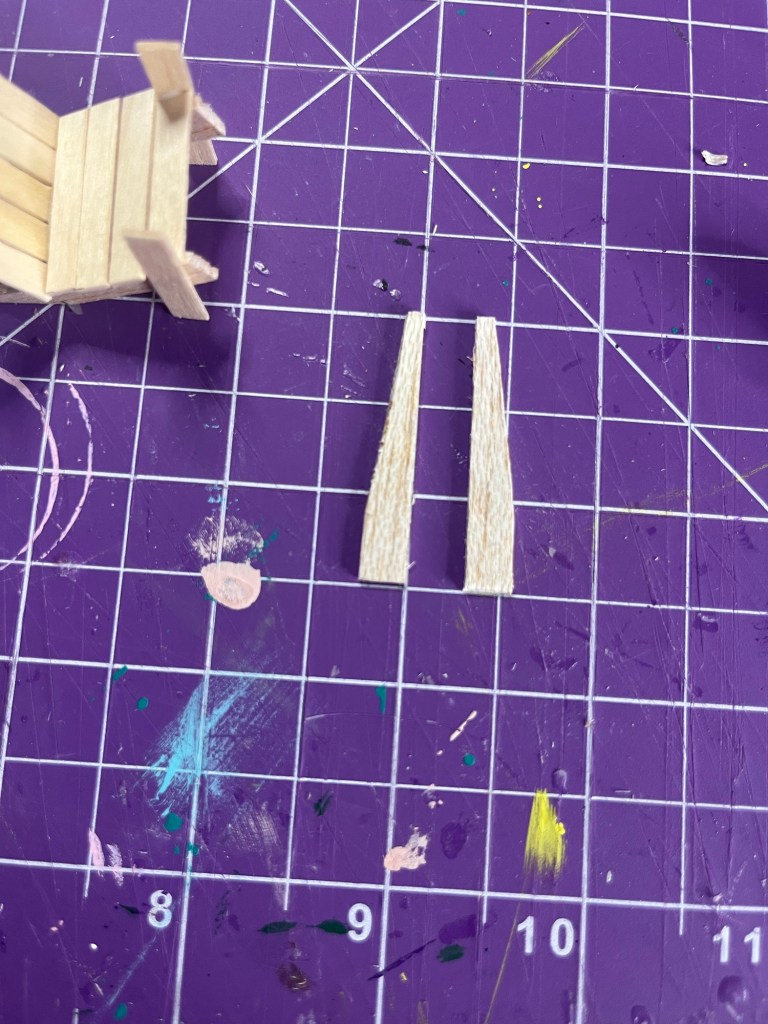
Cut an angle from the end to the 1/2 inch mark.
Use the 7/8” piece first and glue it to the end of two leg pieces . I used tape again so that the legs wouldn’t move during this part. After the glue has dried add the three 1” pieces behind, adding in small spaces between the wood
Cut the back of the chair to fit into the space. Glue.
This is what the chair should look like up to this point. All glued together.
Turn the chair on its side so that it is angled the way it will sit. Glue the 1” legs to the chair. Next picture will show how this should look

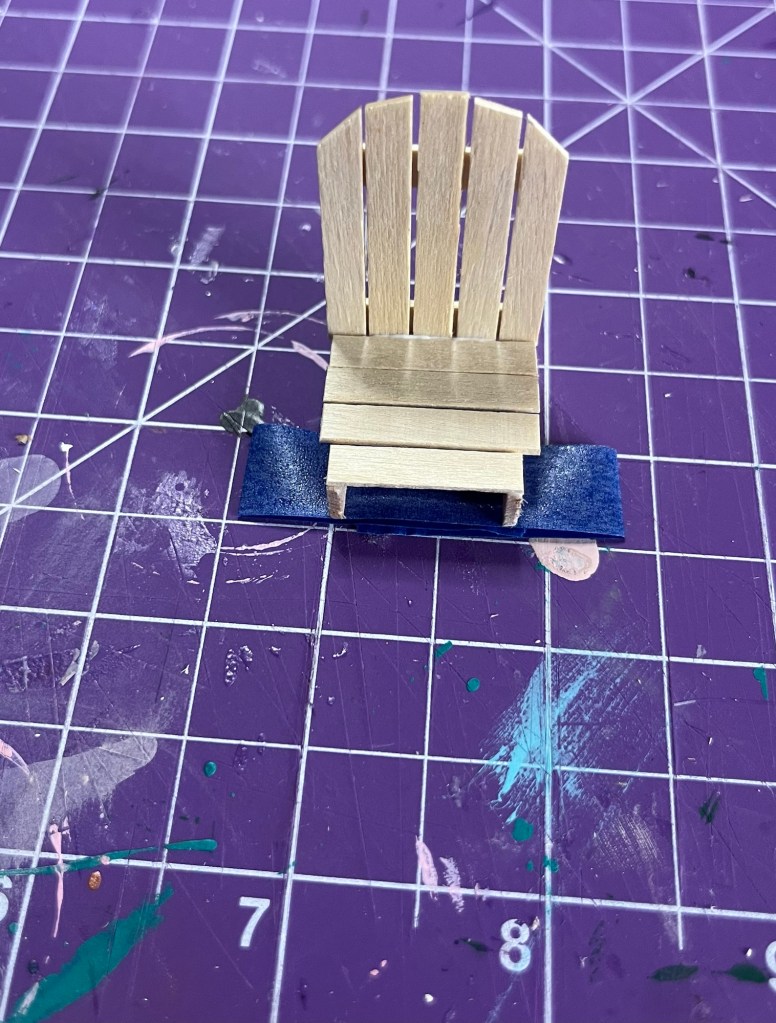
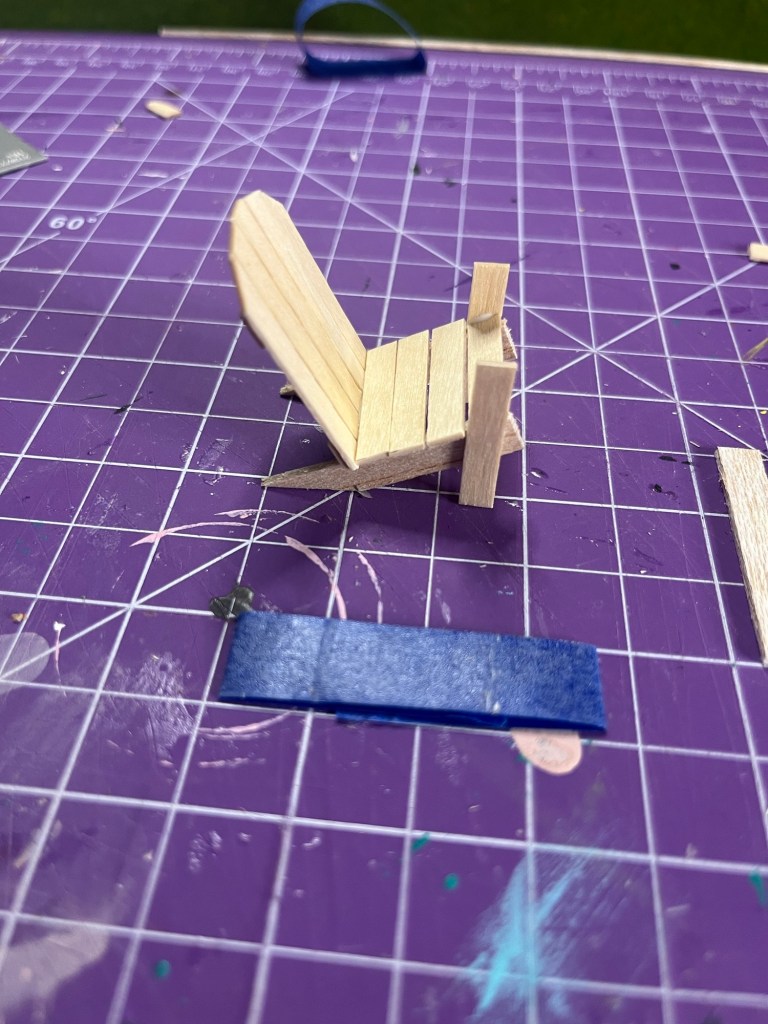
Cut the excess wood that is sticking out in front of the chair so that it is flush to the leg.

Cut angles the wood for the arms
Glue the arms. Glue the 7/8” to the front of the chair
Finished!

One thought on “DIY 1:24 Adirondack Chair

Leave a comment